Before you begin
Keep the printer powered on, have your Wi-Fi password ready, and identify the exact printer model. If your router has separate 2.4 GHz and 5 GHz networks, check the printer documentation to determine which band it supports.
Connect the printer to Wi‑Fi
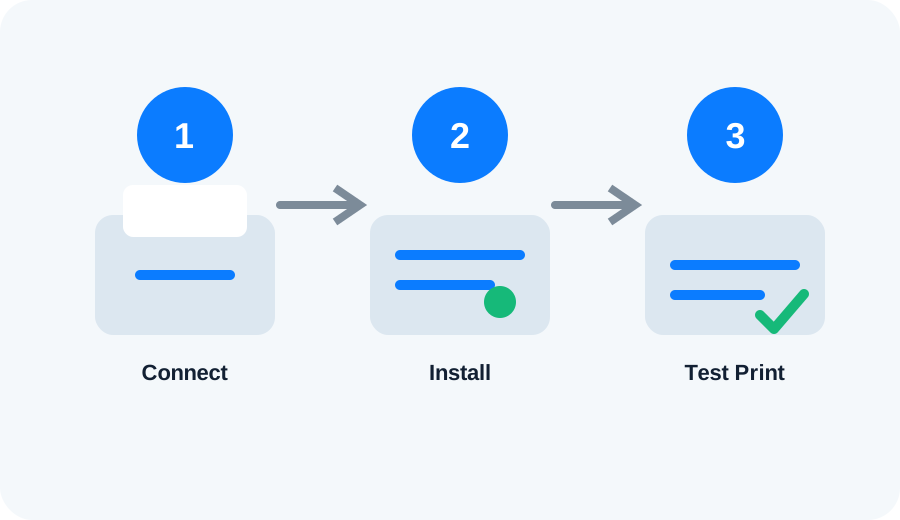
Use the printer's control panel or setup utility to select your wireless network. Enter the Wi-Fi password carefully. After connection, the printer may display an IP address or print a network status page.
Install the printer on Windows
Open Settings → Bluetooth & devices → Printers & scanners → Add device. Windows will search for available printers. If the printer appears, select it and complete setup.
If Windows cannot find it
Confirm that the computer and printer are on the same network. Temporarily disconnect from a VPN, check that the router is working, and restart the printer. If automatic discovery still fails, use the manufacturer's official setup software or the manual-add option supported by Windows.
Verify the installation
Print a test page. Then open the printer's preferences and confirm paper size, orientation, color settings and default tray.